Every homeowner has looked at a gray, rough deck or a sun-bleached fence and wondered whether it is time to tear it out and start over. Replacement is a big job, and it is rarely the first thing anyone wants to do. The question is whether the wood is truly finished or whether it just looks worn.
In many cases, weathered wood is more salvageable than it appears. In others, replacing it really is the better call. Knowing the difference helps you avoid spending time on a surface that cannot be saved and avoid tearing out wood that still has plenty of life in it.
What Weathered Wood Really Is
Before deciding anything, it helps to understand what weathering means, especially if you are considering restoring weathered outdoor wood instead of replacing it. Weathering is the gradual breakdown of the wood’s surface from sun, rain, humidity and temperature changes. It is a natural process, and it happens to every piece of exposed wood without protection.
Here is what usually causes the look you are seeing:
- Graying. Ultraviolet light breaks down the surface fibers and removes the natural color, leaving a silvery gray layer.
- Surface roughness. The top fibers lift and fray, which can make boards feel fuzzy or splintery.
- Mildew and algae. In humid conditions, dark or green growth appears on damp, shaded surfaces.
- Stains and discoloration. Rust from fasteners, tannins and spills can leave marks.
- Fine cracks. Repeated swelling and shrinking cause small checks along the grain.
All of this affects the outer layer of the wood. A weathered surface is not necessarily a damaged one, which is why many gray boards can be brought back.
Surface Wear Versus Real Damage
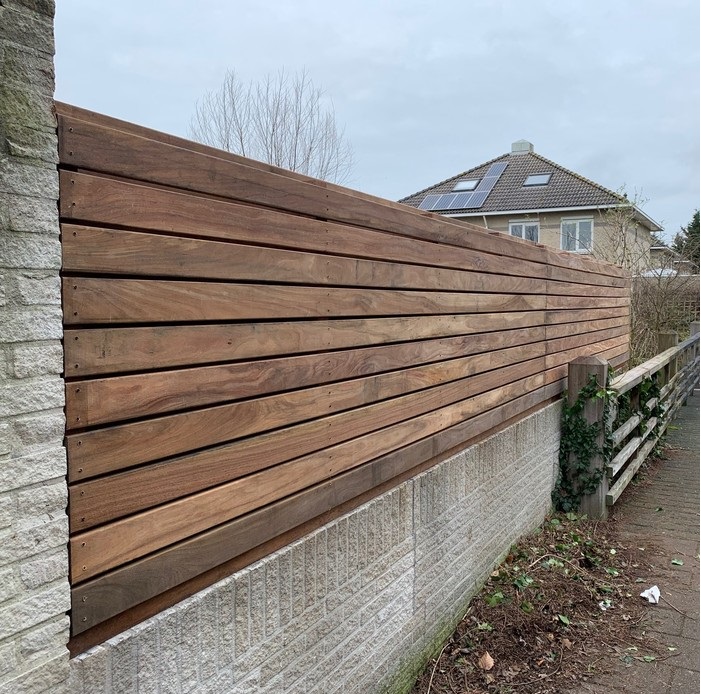
The most useful skill is telling cosmetic wear from real damage. They can look similar from a distance, so get close and use your hands.
Surface wear is usually limited to the top layer. The wood is firm, the boards sit flat, and problems such as graying, light checking, mild stains and surface roughness are present. These are often good candidates for restoration.
Real damage goes deeper. Signs include:
- Soft or spongy spots that give under pressure
- Crumbling or powdery wood
- Deep or widespread splits
- Boards that are badly cupped or warped
- Visible rot or insect damage
- Loose posts, wobbly rails or sagging sections
For a simple check, press the tip of a screwdriver or similar tool gently into a suspect spot. Sound wood resists, while rotted wood gives way easily. Do this carefully, wear gloves and do not put your weight on any surface you suspect is weak. If you find anything that affects the strength of a deck, rail, stair or post, have a qualified professional inspect it before anything else is done. The first item on NADRA’s consumer deck safety checklist is split or decaying wood, and it says to check several areas, including the ledger board and the support posts.
| What you see | What it likely means | Next step |
| Silvery gray surface, firm wood | Surface weathering | Good candidate for cleaning and refinishing |
| Green or black growth | Mildew or algae | Clean, then address moisture and airflow |
| Rough, fuzzy boards | Surface fibers breaking down | Clean and possibly sand before finishing |
| Soft or spongy spot | Possible rot | Probe carefully and get it checked, likely needs repair or replacement |
| Large, deep cracks | Possible structural concern | Have a professional assess |
| Loose or wobbly rail or post | Safety issue | Get it inspected and repaired before finishing |
What Restoration Usually Involves
Restoration is more than slapping on a new coat. A proper job follows a sequence, and each step builds on the last. In general, it looks like this:
- Inspect. Identify what is surface wear and what needs repair.
- Clean. Remove dirt, mildew and algae from the surface.
- Strip the old finish. If a previous coating is peeling or failing, it has to come off so the new finish can bond.
- Brighten. Some products help even out the wood’s tone after cleaning, depending on the condition.
- Sand lightly. Smoothing raised grain and rough patches prepares the wood to accept the finish, and sanding also removes damaged surface fibers, which gives the finish a better base to cling to, according to the Journal of Light Construction.
- Repair. Secure loose boards, replace damaged pieces and fix hardware.
- Let it dry. Wood needs to be dry before any finish goes on.
- Apply a stain or sealer. A fresh coat restores color and rebuilds protection.
This is a general outline. The exact steps depend on the surface, the product and the condition of the wood, so follow the manufacturer’s instructions closely.
When Restoration Makes More Sense Than Replacement
There are good reasons to restore when you can. Replacing a deck or a run of fence involves removing old material, buying new lumber and doing a lot of construction work. Restoring a sound structure often takes less time and creates less waste, and it keeps the established look of your yard.
Restoration also makes sense when the underlying frame, posts and boards are solid. If the bones are good and the problem is mostly cosmetic, a thorough cleaning and a new finish can make a surface look dramatically better and give it protection going forward.
Older wood can also look better than you expect once it is clean. Because graying affects only the outer layer, cleaning and light sanding can reveal sound wood with more natural color underneath than the gray surface suggests.
When Replacement Is the Better Call
It is just as important to be honest about when restoration will not work. Replace the wood, or at least the affected parts, when:
- Rot has spread through several boards or into structural members such as joists and posts
- Boards are soft, crumbling or splitting along large sections
- Fasteners no longer hold because the surrounding wood has deteriorated
- The structure is unsafe or no longer level
- The cost and effort of repairs would be close to the cost of starting fresh
In many cases, the answer is a mix. You might replace a handful of damaged boards and restore the rest. A professional assessment can help you sort out which parts are worth saving.
Protecting the Restored Surface
Once the wood has been restored, keeping it protected prevents a repeat. A fresh stain or sealer is the foundation, but ongoing habits matter too.
- Sweep debris regularly so moisture does not sit on the surface.
- Wash gently when dirt or growth builds up.
- Fix drainage problems and trim plants that keep the wood damp.
- Run a water test once a year to check the finish.
- Touch up worn spots before they spread.
A simple rhythm of checking in spring and fall, and acting when the water test tells you to, keeps restored wood looking good for far longer than leaving it alone.
Look Closely Before You Decide
A gray, rough surface does not automatically mean the wood is finished. Take time to inspect it, probe suspect spots carefully and separate surface wear from deeper damage. When the structure is sound, cleaning, repairing and refinishing can bring weathered wood back to life. When it is not, replacement is the safer choice. Either way, making the decision with a clear view of the wood’s real condition leads to better results.